The smell of fresh bread in the kitchen is truly satisfying. For many, making a sandwich with soft bread is a cherished tradition. In this guide, we’ll share the secrets to making the best sandwich bread for your lunches.

Table of Contents
Key Takeaways
- Discover the essential ingredients for perfectly soft and fluffy homemade bread
- Master the step-by-step process of making the perfect sandwich bread dough
- Understand the importance of proper kneading techniques and rising times
- Learn the secrets to shaping and baking the ultimate soft bread recipe
- Explore storage and freshness tips to enjoy your homemade bread for days
Essential Ingredients for Perfect Sandwich Bread
Making the perfect homemade sandwich bread starts with picking the right ingredients. The main ingredients are flour, yeast, sugar, butter, and salt. They work together to make a soft, fluffy, and tasty loaf.
All-Purpose Flour vs Bread Flour Options
All-purpose flour is good for many things, but bread flour is better for a chewier texture. Bread flour has more protein, which means more gluten. This makes the bread sturdy enough to hold sandwich fillings.
The Role of Yeast and Sugar
Yeast, whether active dry or instant, is key for a light, airy bread. A bit of sugar helps the yeast grow and makes the dough softer.
Importance of Quality Butter and Salt
Butter adds flavor and makes the bread tender. Using high-quality European-style butter makes it even better. Salt balances the sweetness and enhances the bread’s taste.
“The traditional ratio for old school bread is 5 parts flour to 3 parts water. In this recipe, there is 500 grams of flour and almost 300 grams of water.”
Step-by-Step Bread Making Process
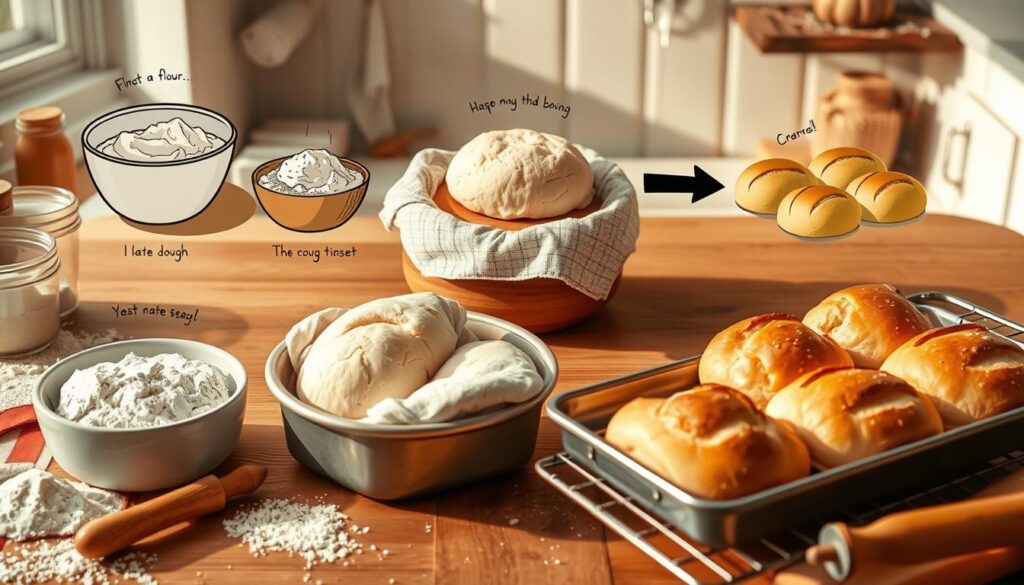
Making homemade sandwich bread is easy and fun. This recipe makes one loaf, perfect for those with just one loaf pan. Here’s how to make this tasty bread:
- Start by mixing yeast with warm water and a bit of sugar. Let it sit for about 10 minutes until it gets frothy.
- In a big bowl, mix the yeast mixture with milk, melted butter, salt, and more sugar. Slowly add flour, kneading until the dough is smooth and elastic. This takes about 8-10 minutes.
- Put the dough in a greased bowl, cover it, and let it rise in a warm, draft-free spot for 1-2 hours. It should double in size.
- Punch down the dough to get rid of air bubbles. Shape it into a 9-inch log and put it in a greased 9×5-inch loaf pan. Cover it and let it rise for another 45-60 minutes.
- Preheat your oven to 350°F. Bake the bread for 30-34 minutes, or until it’s golden brown. Brush the top with melted butter for a crisp crust during the last 5-10 minutes.
Follow these steps to make a delicious homemade sandwich bread. It’s perfect for making your lunchtime meals better.
| Ingredient | Amount |
|---|---|
| Water | 320-340g |
| Milk | Variable |
| Yeast | 4 1/2 teaspoons (2 packets) |
| Sugar | Variable |
| Butter | Variable |
| Salt | 5-10g |
| Flour | 8-10 cups |
Using bread flour makes the crust chewier. But all-purpose flour works too. The secret to great bread is kneading well and letting it rise fully.

“Baking bread is one of the most rewarding and satisfying culinary experiences. The aroma of freshly baked bread is unparalleled, and the sense of accomplishment in creating a perfect loaf is truly special.”
Mastering the Perfect Dough Consistency
Getting the dough just right is key to making great sandwich bread. It should feel slightly tacky but not too sticky. This balance helps the bread rise well and gives it a soft yet firm texture.
Proper Kneading Techniques
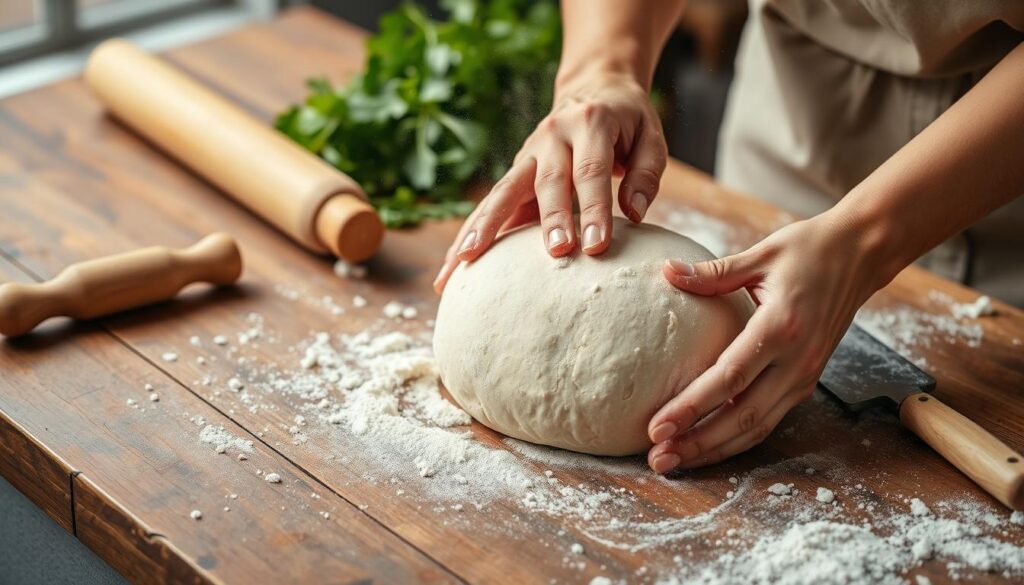
Kneading the dough is a critical step. You can use a stand mixer or knead by hand. The goal is to build the gluten structure. Knead for 5-8 minutes until the dough is smooth and elastic.
Understanding Dough Temperature and Rising Times
The best temperature for the first rise is 75-78°F. This helps the yeast work well, making the dough rise nicely. The first rise takes 1-2 hours. The second rise should be about 1 hour, or until it’s 1 inch above the pan rim.
Signs of Well-Developed Gluten
A good gluten structure is vital for perfect sandwich bread. You can check this with the “windowpane test.” Stretch a small dough piece; if it’s translucent without tearing, the gluten is good. The dough should also feel smooth and elastic.
Mastering dough consistency techniques will help you bake amazing homemade sandwich bread. It’s sure to impress everyone.
Shaping and Baking Your Sandwich Bread
Making the perfect sandwich bread is an art. Shaping and baking are key to getting that soft, sliceable texture. Whether you’re new or experienced, learning these techniques can make your homemade bread amazing.
Start by placing your dough on a floured surface. Shape it into an 8×15-inch rectangle, making sure it’s even. Then, roll it tightly from the short side to form a uniform loaf. Place the dough in a greased 9×5-inch loaf pan, with the seam down.
Let the dough rise until it’s 1 inch above the pan’s rim. This should take 1 to 2 hours, depending on your kitchen’s conditions. When it’s ready, it’s time to bake.
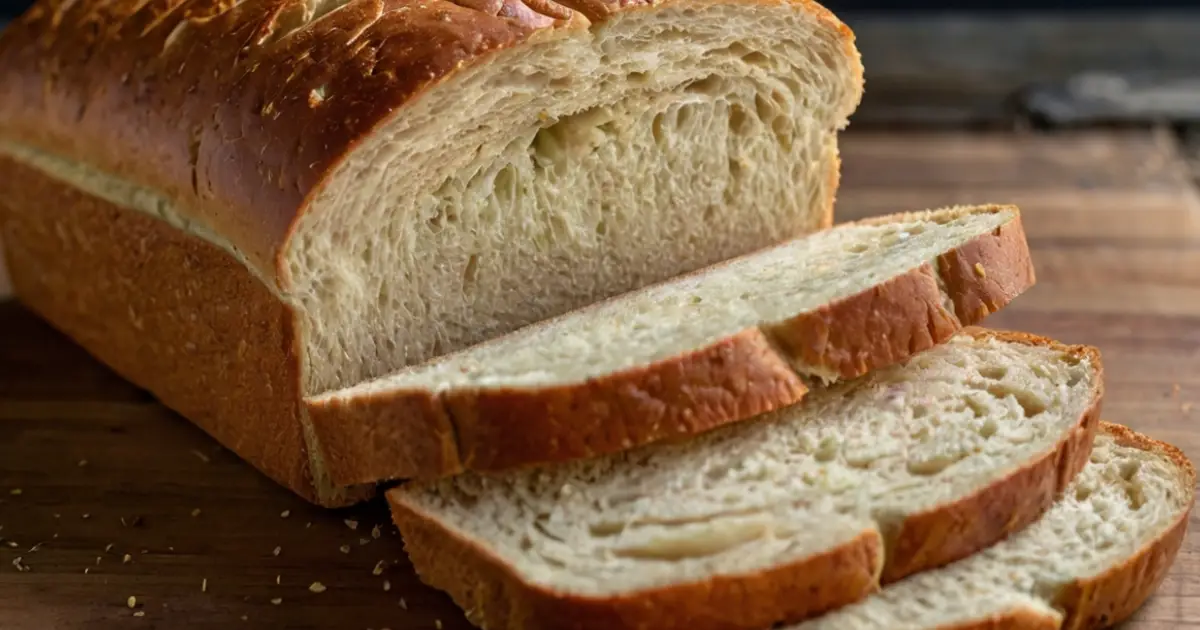
Heat your oven to 350°F. Bake the bread for 30 to 34 minutes, flipping the pan halfway for even browning. It’s done when it’s golden brown and hollow when tapped. Remove it from the oven and let it cool in the pan for 5 minutes. Then, transfer it to a wire rack to cool completely.
By mastering these techniques, you’ll make sandwich bread that impresses everyone. Enjoy your homemade loaf with your favorite fillings for a truly great sandwich.

“The secret to the perfect sandwich bread lies in the shaping and baking process. With a little patience and attention to detail, you can create a homemade loaf that’s truly irresistible.”
Storage and Freshness Tips
Keeping your homemade sandwich bread fresh is key for great lunches. Let the bread cool completely before slicing. This step stops the inside from getting soggy.
After cooling, store the bread in an airtight container or bag for up to 3 days. This keeps it fresh.
For longer storage, freeze the bread for up to 1 month. Slice the loaf before freezing for easy thawing. This way, you can toast individual slices for perfect texture and taste.
Freezing and Thawing Guidelines
To thaw frozen bread, just put the slices in your toaster. They’ll warm up perfectly without extra defrosting. Enjoy your bread within 2-3 days of baking for the best taste.
| Storage Method | Shelf Life | Benefits |
|---|---|---|
| Room Temperature | Up to 3 days | Maintains optimal texture and flavor |
| Freezer | Up to 1 month | Preserves moisture and freshness, convenient slicing |
Follow these tips for the best homemade sandwich bread. Whether fresh or thawed, your bread will always be delicious. With a bit of planning, your lunches will always be a hit.
Troubleshooting Common Sandwich Bread Issues
Making the perfect homemade sandwich bread can be tricky. But, with the right techniques, you can fix common problems. Issues like a dense texture, lack of rise, or uneven shape can be solved by understanding their causes.
A dense, heavy texture often comes from under-kneading or over-proofing. To fix this, knead the dough well to develop the gluten. If the dough rises too long, it becomes dense and gummy.
A lack of rise can be due to old yeast or a cool environment. Use fresh yeast and keep the dough in a warm, draft-free place to rise well.
- Ensure yeast is fresh and active before use
- Maintain a warm (85°F – 95°F) environment for the dough to rise
- Avoid over-kneading or over-proofing the dough
Uneven shaping can make your loaf look lopsided. This usually happens from bad shaping or using a too-small loaf pan. Follow the shaping steps and use the right-sized pan for a uniform loaf.
By fixing these common bread troubleshooting and baking problems, you can make perfect homemade sandwich bread. Enjoy loaves that are perfectly textured and well-risen every time.
Conclusion
Homemade sandwich bread has many benefits over store-bought. You get better taste, texture, and control over what goes into it. With practice, you’ll make delicious bread every time.
Try adding whole wheat flour or herbs to make it special. Enjoy it fresh or use it for sandwiches, toast, or with soups. This homemade bread will make your meals better.
To make great sandwich bread, know the key ingredients and follow the steps carefully. If problems come up, learn how to fix them. With effort, you’ll make homemade sandwich bread that everyone will love.
FAQ
What are the key ingredients for making homemade sandwich bread?
To make soft, fluffy sandwich bread, you need a few key ingredients. These include unbleached all-purpose flour, active dry yeast, sugar, water, salt, and melted butter.
Can I use bread flour instead of all-purpose flour?
Yes, you can use bread flour instead. It makes the crust chewier than all-purpose flour.
What is the role of sugar in the bread dough?
Sugar feeds the yeast and tenderizes the dough. This makes the bread soft and fluffy.
Why is quality butter important for this recipe?
Quality butter, especially European butter, adds more flavor. It also makes the bread softer.
How do I ensure the yeast is properly activated?
Use warm water and milk (around 85-90°F) to activate the yeast. This is before mixing it into the dough.
What is the process for making the homemade sandwich bread dough?
First, activate the yeast. Then, mix the ingredients. Knead the dough for 5-8 minutes. Let it rise twice, shape the loaf, and bake at 350°F for 30-34 minutes.
How can I achieve the perfect dough consistency?
The dough should be slightly tacky but not sticky. Knead it for 5-8 minutes to develop the gluten structure.
What is the optimal dough temperature and rising time?
The dough should be around 75-78°F for rising. The first rise takes 1-2 hours. The second rise is about 1 hour.
How do I properly shape the dough for the loaf pan?
Shape the dough into an 8×15-inch rectangle. Roll it tightly from the short side. Place it in a greased 9×5-inch loaf pan. Let it rise until it’s 1 inch above the pan rim.
How do I know when the bread is done baking?
The bread is done when it’s golden brown and hollow when tapped. Bake at 350°F for 30-34 minutes, rotating the pan halfway.
How should I store the homemade sandwich bread?
Store the cooled bread in an airtight container or bag at room temperature for up to 3 days. For longer storage, freeze it for up to 1 month.
What are some common issues that can arise when making homemade sandwich bread?
Issues include a dense texture (from under-kneading or over-proofing), lack of rise (from old yeast or a cool environment), and an uneven shape (from improper shaping or rising).
Source Links
- Easy White Sandwich Bread
- Homemade Soft Sandwich Bread – Lion’s Bread
- Sandwich Bread
- Classic Sandwich Bread
- Simply Sandwich Bread (Recipe + Video) – Sally’s Baking Addiction
- The stages of bread making – Veg Patch Kitchen Cookery School
- How to Make Sandwich Bread, Step by Step – Lehman’s Simpler Living Blog
- How To Shape Bread Dough into Sandwich Loaves and Some Simple Bread Baking Tips
- White Bread Master Recipe – Artisan Bread in Five Minutes a Day
- How to Shape a Pan Loaf (Sandwich Bread) | The Perfect Loaf
- How to Shape a Sourdough Sandwich Loaf and Bake with Steam
- This Is the Only Way You Should Be Storing Your Bread
- The Best Way to Store Bread | The Perfect Loaf
- 5 Mistakes to Avoid When Making Sandwich Bread
- Bread Baking Tips & Troubleshooting Guide
- Shorebilly’s Swill: How to Make an Epic Sandwich, the Conclusion | Shorebread
- Soft, white-ish sandwich bread

